Trellising grapevine for better production

TrellisGrapes are vine plants, thus really need some kind of trellis support to grow happily. I have discovered this when growing grapevine plants from year 1. Whenever I would plant grapevine and have no any kind of trellis, they just would not grow much. As soon as my grapevines get some kind of support or trellis, they are just challenged to thrive and occupy the space.

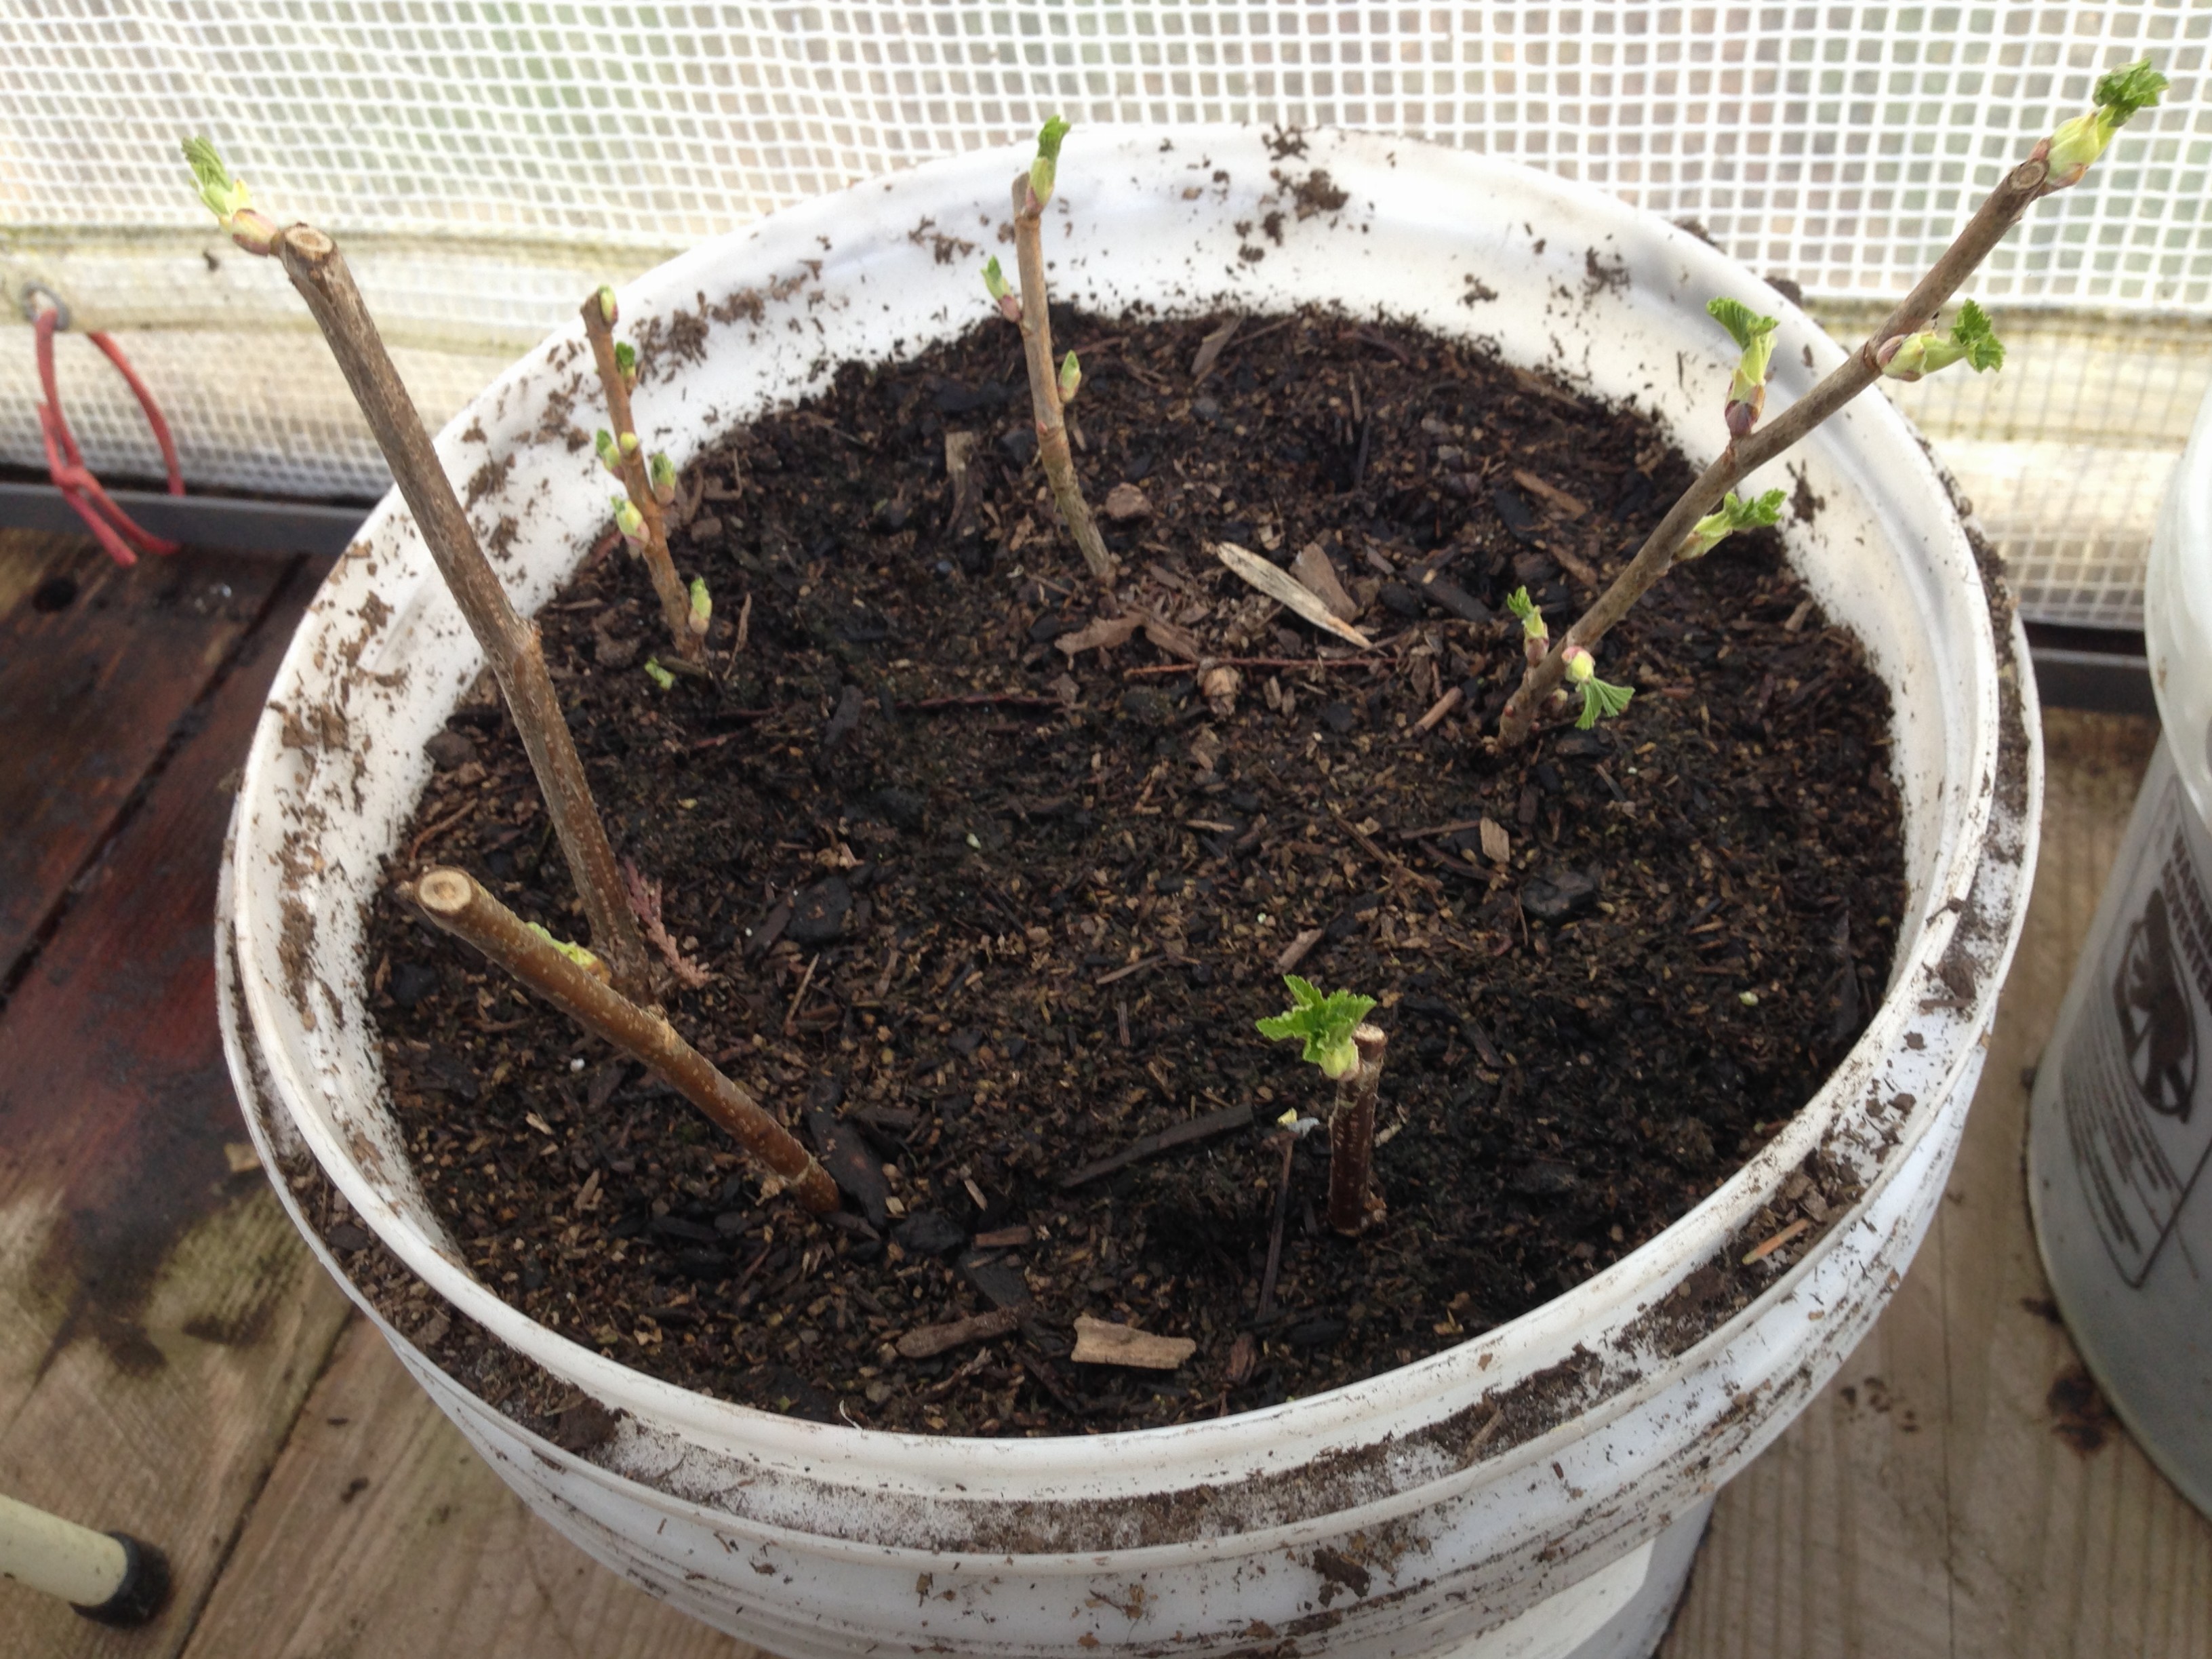
Recently, I have planted several new grapevine plants and here is how I decided to trellis them. I want to achieve 3 tier system on both sides of a plant. Basically one central trunk, and 6 arms. 3 arms on one side and 3 arms on the other side. The space that I have allocated for these arms are about 6 feet on either side. I currently have 2 plants, only trunks so far, but I strongly believe that I will train 6 arms on each side without any kind of difficulty during this coming season.

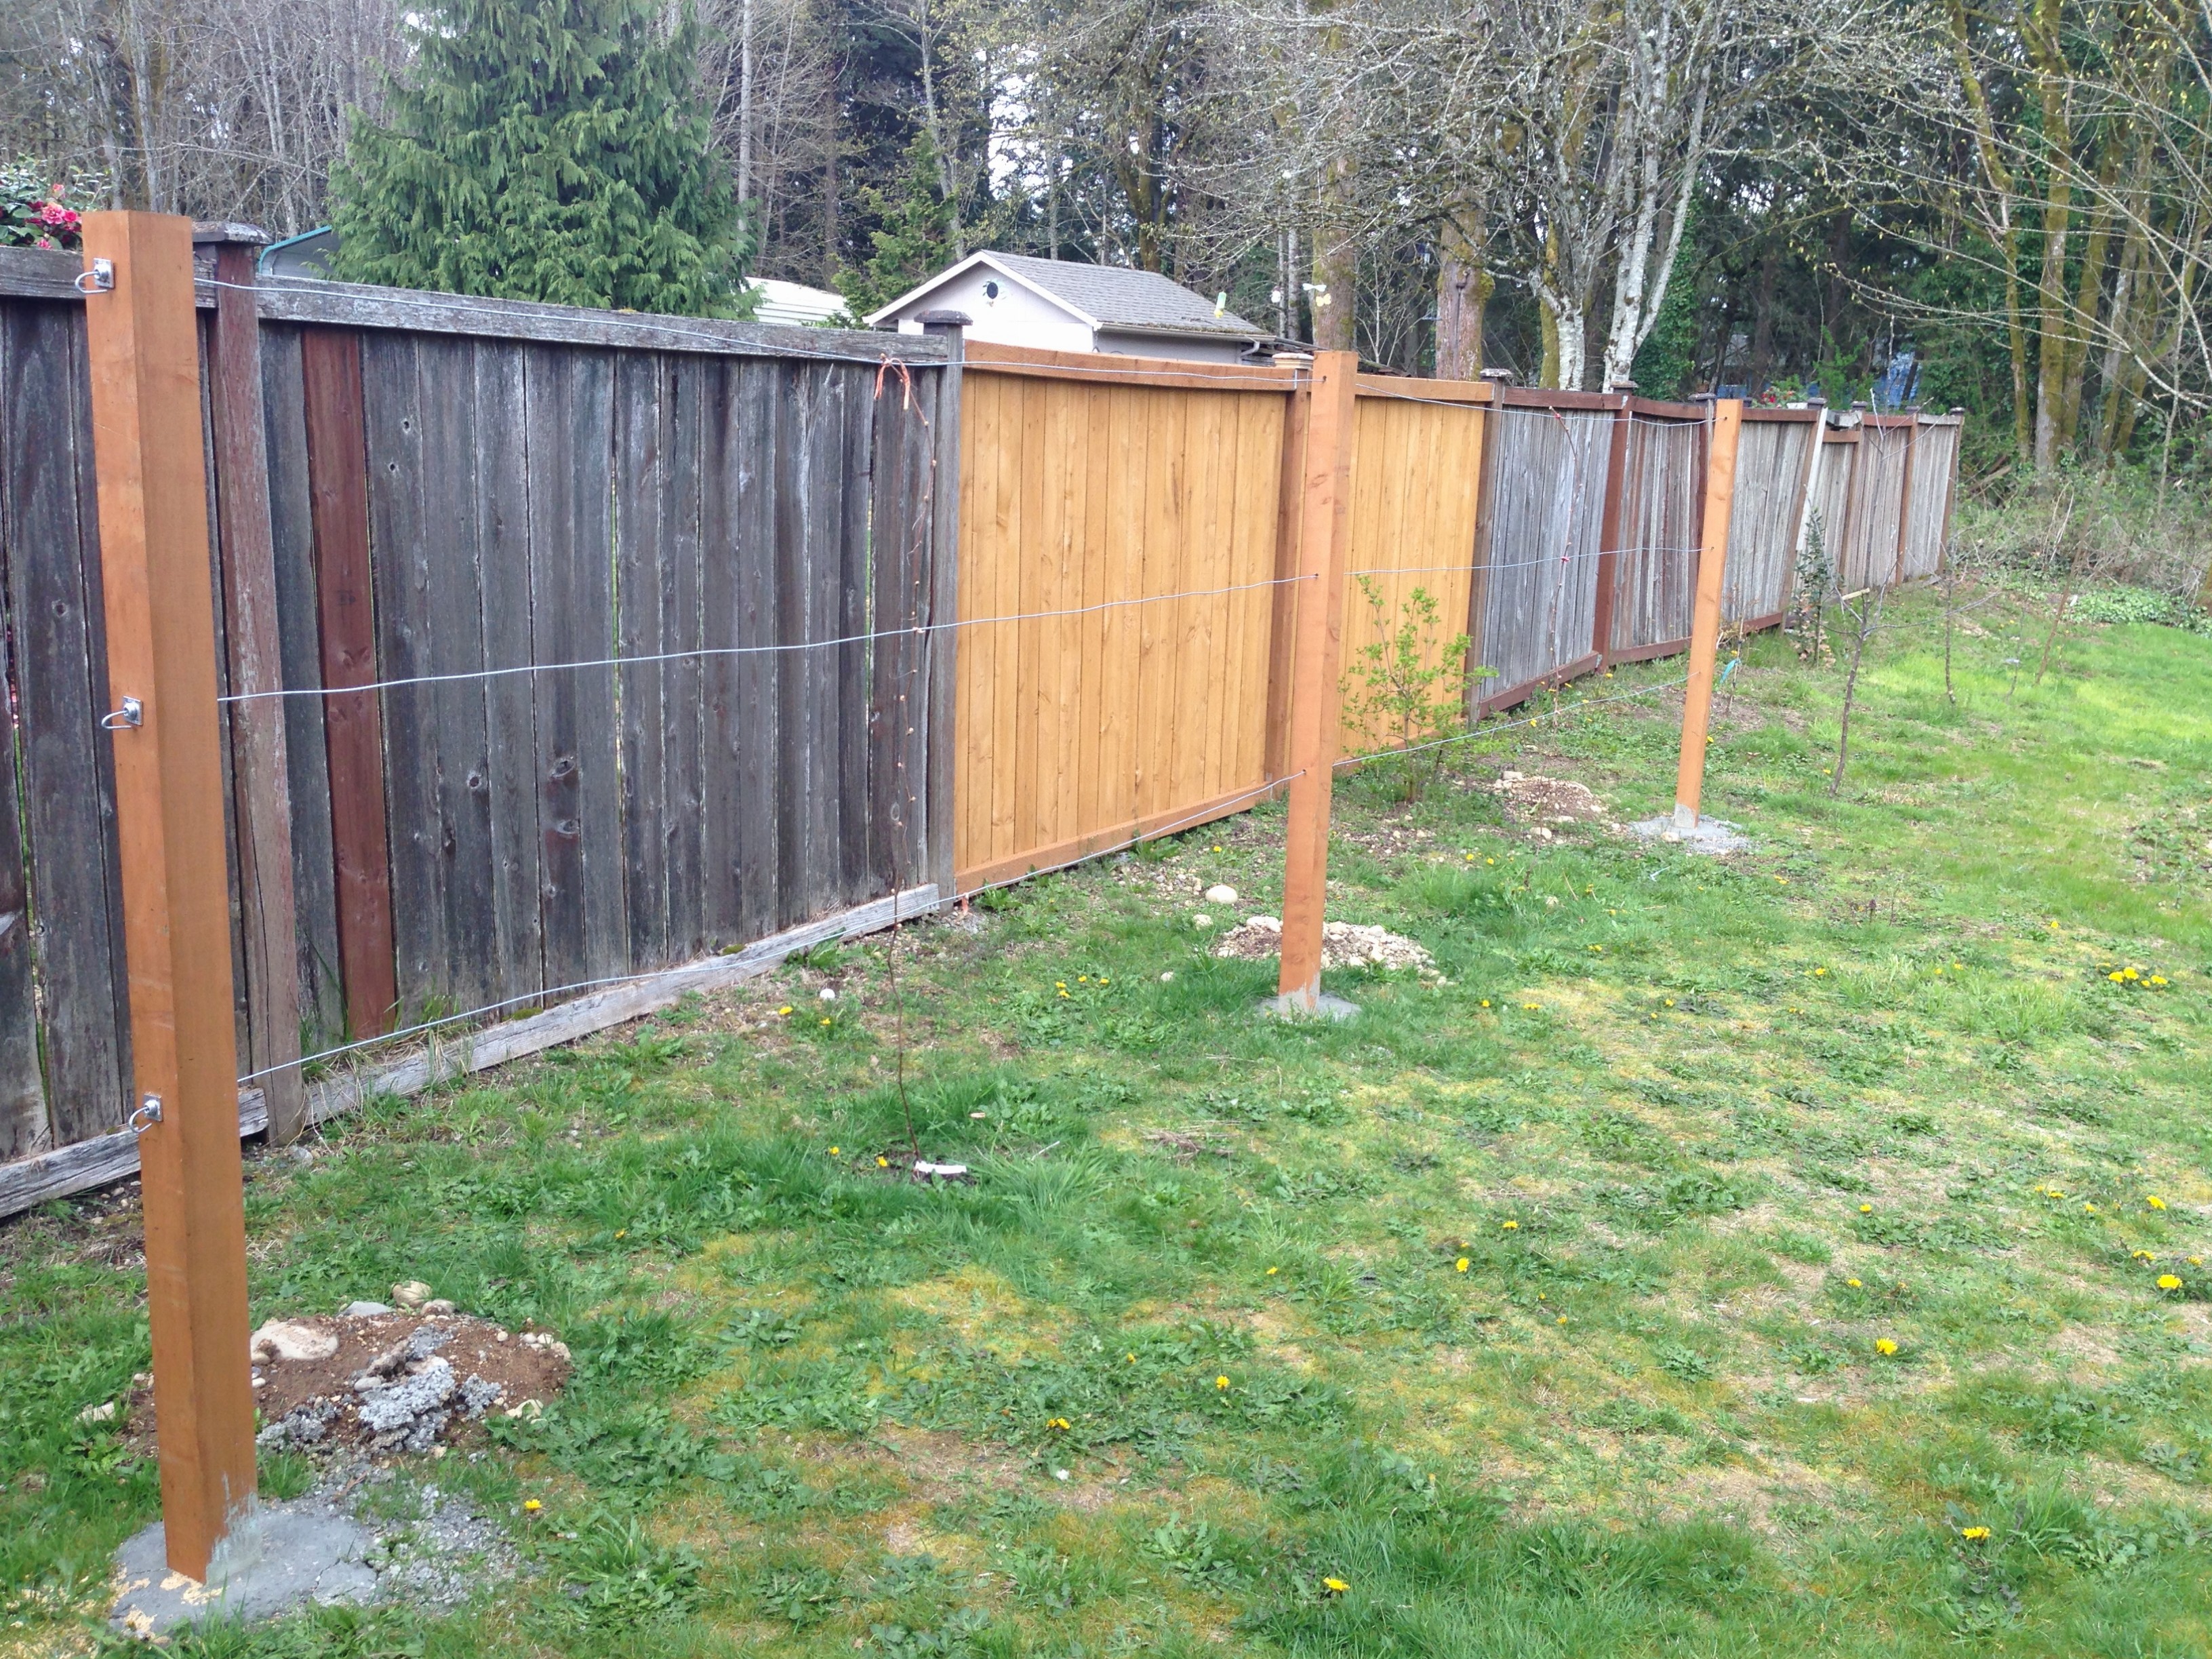
Building trellis was not that difficult. Here are the materials I have used to make it happen. Concrete mix, fence posts 4x4x8, galvanized wire 9 gauge and some wire vise. I have cemented 3 posts 2 feet deep and 6 feet above the ground, waited couple days for cement to set. After that drilled big enough wholes for wire vise to fit and setup the wire to its permanent position, securing it with wire vises on both ends of trellis, trimmed the access wire, and done deal. I did read on amazon some reviewers stated that it was difficult to put the wire through the wire vise. Not in my case, the wire went in just perfectly fine, and not a single vise wasted. Maybe it was because I was very careful not to break even one, considering, they are almost $4.00 each.

Now all is left: To fertilize my grapes with some composted chicken manure, get rid of weeds around the base and keep an eye on fresh new growth. It needs to be guided to correct positions. As I mentioned previously, I will select only 6 branches for each trunk, everything else will be brutally removed. They are already about 3 years old, still do not expect any kind of crop from them, while they are being trained to correct shape. First year I planted them, I did not have any kind of support or pruning, which was just pure really bad mistake on my side. They did not grow not a tiny bit, but in the subsequent year, I added support and pruned them, what a difference it made, some of them grew up to 12 feet just in one season.

I am curious to hear how you trellis your grapevines, any comments or suggestions are welcome!

Seeding tomatoes

SeedsIt’s that time of year again to start thinking about warm weather crops. Seems to me that this spring is early and the winter was pretty mild. Before I can seed any seeds, I have to make quite a few brail labels and sort everything out to stay on the organized side. I don’t like to plant tomatoes without knowing what I am growing. After all, isn’t the whole point in growing tomatoes from seeds to pick the best varieties, best tasting, the most productive etc.

Seeding tray with seeded tomatoes in individual 6 cells, with soil and labels Here is my 2016 list of tomatoes:

  •  Sun Gold
  • Sweet Million
  • Black Krim
  • Mortgage Lifter
  • Gold Medal
  • Amish Paste
  • Siletz
  • Super Sioux
  • Yellow Pear

 The list is not very extensive, but includes cherry, yellow, black and different red tomatoes. The Siletz are especially interesting because they are supposed to be self-pollinating and quite early. 2 of above varieties are returning from previous growing season, black krim and sun gold. Sun Gold is number 1 in sweetness and Black Krim just perfect tasting beefsteak for summer salads and sandwiches.

 “Ecclesiastes 11:4  He that observeth the wind shall not sow; and he that regardeth the clouds shall not reap.”


Simple method to propagate black currents

By far, the easiest way for me to propagate black currents with hardwood cuttings. In Black current cuttings in 5 gallon bucketwinter, during dormancy, when I prune black current bushes, I make pensile size cuttings with exactly 5 buds. After my cuttings are ready, I take 5 gallon bucket and make multiple holes on bottom, with a drill bit half an inch or 3/4th. Fill up the bucket with regular compost, potting soil, just whatever is available and stick the cuttings in. I keep 2 buds above the soil and 3 buds below, submerged in compost. Lightly water everything and put it aside to shaded place.

 The cuttings will show signs of growth during spring time, and new growth of green wood will appear at the end of summer. I keep an eye on cuttings during the spring and summer month just to keep them watered and never let them dry out. It is very important to keep the soil moistened to allow new roots develop. If wood starts flowering or even sets fruit, I always try to remove it to concentrate all energy to root growth.

 At the end of 1 season, about fall or winter time, I have perfect starts of black current plants with several branches and very nice root system developed. All is left, just to transplant them to permanent location or bigger pot. Easy, simple and does not cost me anything!


How to make brail labels for plants

Brail plant tagI have been always struggling with labeling things in my garden until my recent invention. After so many attempts to label things with big font letters, writing numbers on labels and keeping the database of numbered tabs, it would really not work out for me very well.

I did some homework and purchased few things to make some durable and weather resistant labels for my garden. It is a business card brail slate and regular plastic plant labels.

With business card brail slate, I cannot wright that much of information on a single plant tab, just one line; but, in most of the cases, it is enough to fit the variety name. I would not wright neither date or plant type, I can make a note of it in my journal if needed.

With one     of gardening seasons over, I have to say I am pretty happy with my labels. Now I can definitely know what varieties of tomatoes and other vegetables to grow next year.

I make my labels with grade 1 brail because that’s all I remember from my high school years, but who is familiar with grade 2 brail, it will make things even more easier because much more can be fit into one line of plant label with contractions. The plastic brail labels can be also reused for the next year if there are varieties to regrow.

If you really need to have more then one line of information on the label, it is possible to find some other material like very thing plastic or thing aluminum sheet to cut out bigger label, but you would need to think of a way to attach the label to the plant or pot when its home made. I have tried to use recycled metal pop can, cutting out an exact label size, it worked out quite well, but takes a lot more effort, considering you would need to manufacture the whole label from scratch.

Now into second season with my home made labels; I am pretty chuffed. Everything works out very well. I already kept some of the labels from previous year, and lots of new once made. For all my trees and shrubs, I have found copper tags on amazon that do the job excellent.

First 2 speckled eggs. Welsummers…

3 eggsFinely this day has come and I have two beautiful speckled eggs from my Welsummer laying chickens. I have 3 chickens of this breed. Compare to other chickens, they have started laying substantially later but the eggs are worth waiting. October 10th is the date, and we got them in around Easter time as baby chicks.

 I will keep updating this post with egg productivity during the next few years.